– Click Finish and you should have two targets
– SQL1: Click on Start -> Administrative Tools -> iSCSI Initiator.
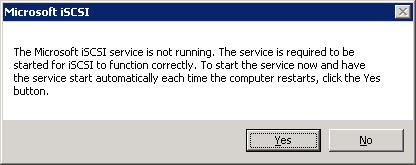
– Click Yes to start the iSCSI service
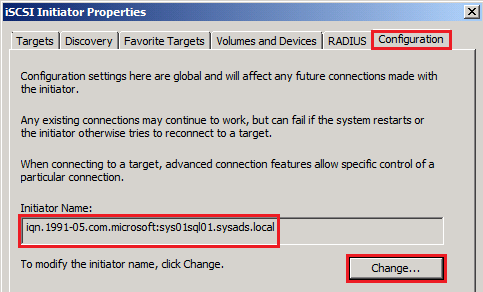
– Click the Configuration tab and click change
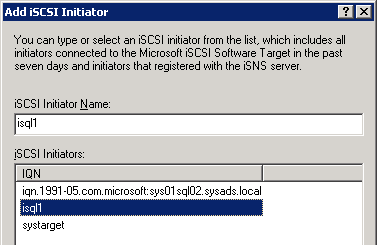
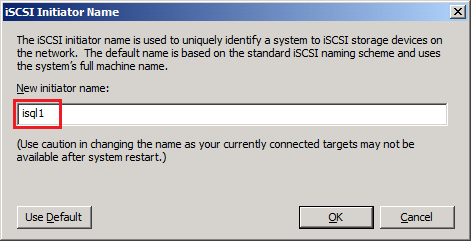
– Under new intiator name, type in the name of the IQN initiator and click OK
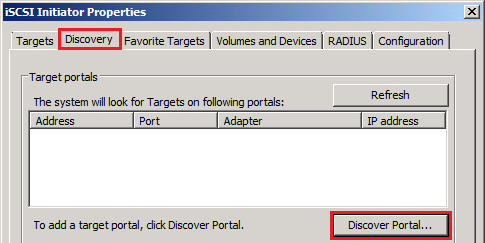
– Click on Discovery tab -> Discovery Portal….
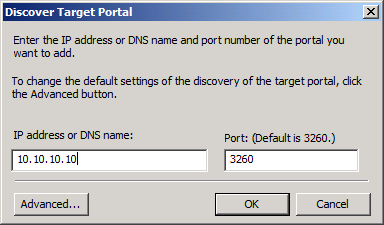
– Enter the IP address of the Target server. Ensure the firewall port 3260 had been opened if your Target server is in a separate network segment. Click Ok
– You should see the following at this stage
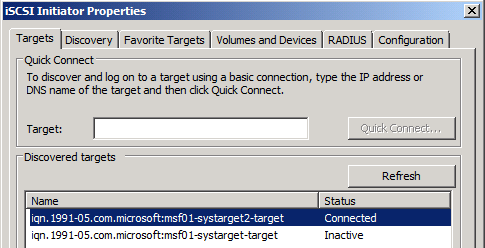
– Click on the Targets tab, under Discovered Targets the two targets we created should appear. Click refresh if no targets appeared.
– Select the first Target -> Click connect -> Accept the default and click OK
– Connection should now be established as seen below
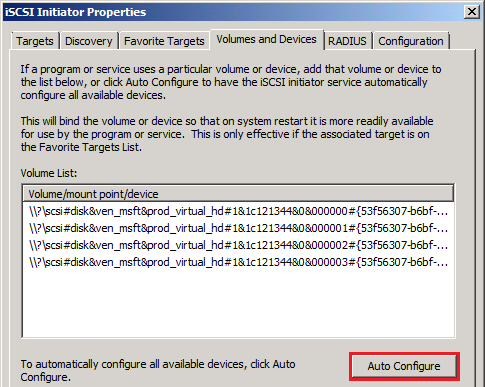
– Click on Volumes and Devices tab – > Click Auto Configure button. All the volumes (disks) should now be populated in the volume list
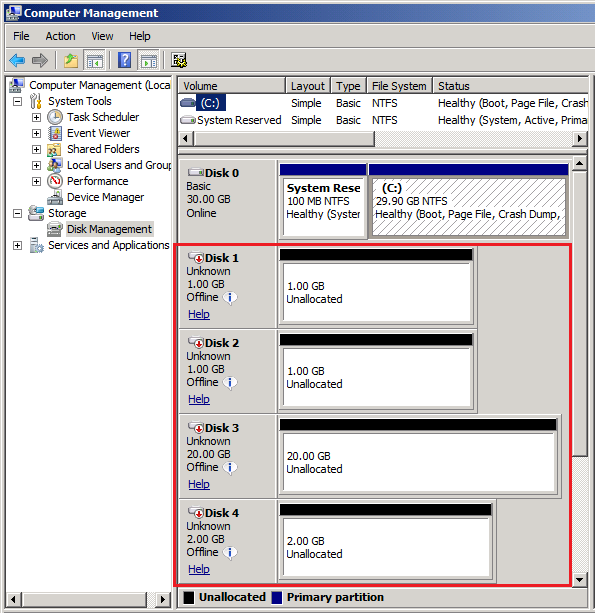
– To confirm that the disks are now visible to the server, click Start -> Administrative Tools -> Computer Management
– Expand Storage and click on Disk Management. All the disks should appear on the right-hand pane
– SQL2: Repeat steps 4 above and ensure you select the second Target. The second target should be connected as seen below:
In page2 I will continue with the setting up of the environment for SQL installation.
Adding a SQL server to an existing SQL cluster is pretty straight forward and not complex. In this post I will focus on adding another SQL server to a SQL cluster and recommend some configuration changes in post configuration.
Note:
[table id=6 /]
Requirements:
– Ensure that you have installed the first SQL cluster node
– Microsoft .Net Framework 3.5 SP1 (See section1 post for installation steps)
Setup Guide:
– Insert the SQL installation disk -> Double-click Setup.exe -> Wait for the SQL application to load
– On SQL Server Installation Center page -> click Installation -> click Add node to a SQL server failover cluster
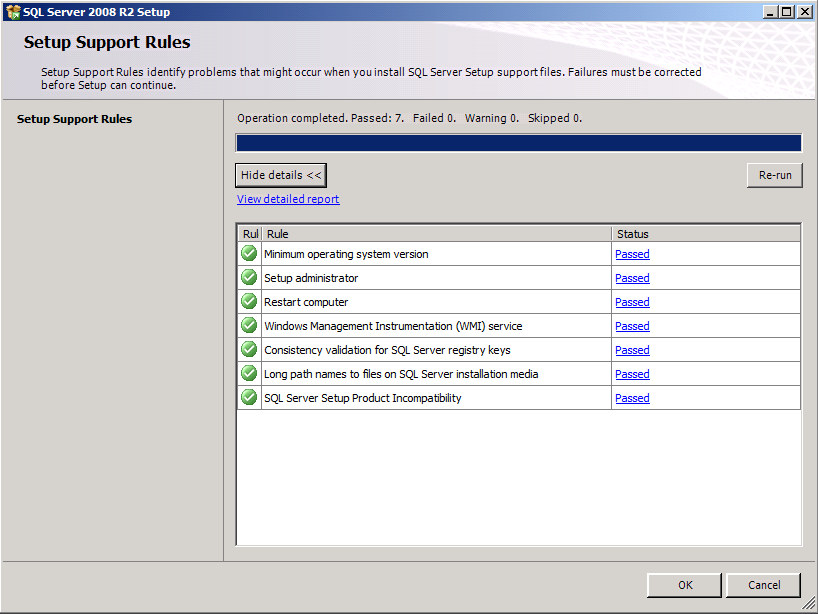
– On Setup Support Rules page -> click Show details -> Ensure the status column shows Passed for all rules -> click OK
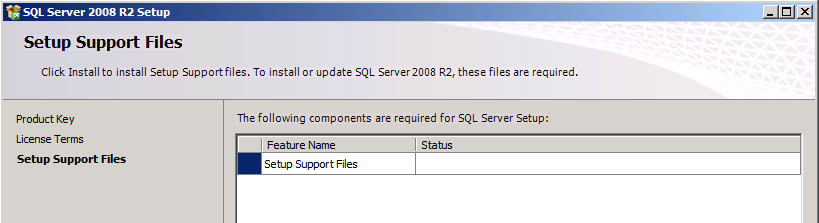
– On Setup Support Files page -> click Install
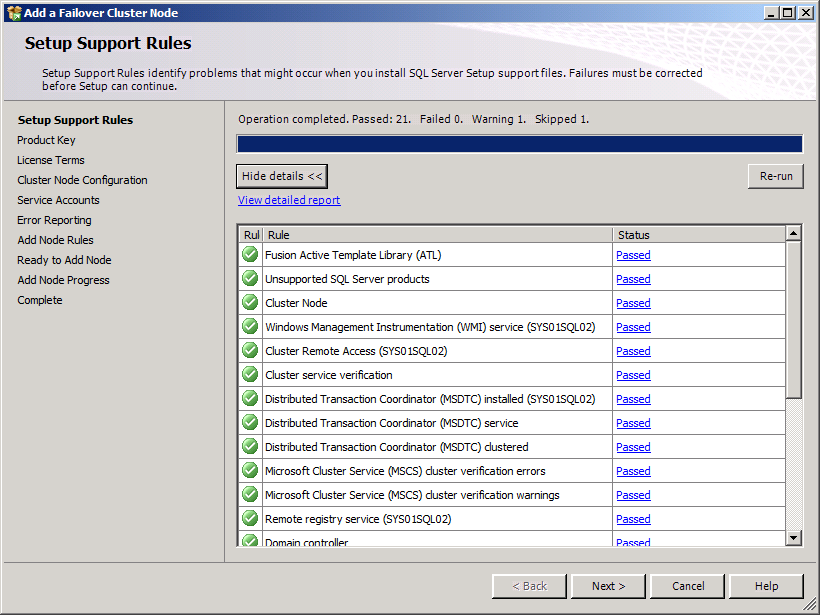
– On Setup Support Rules page -> click Show details -> Ensure the status column shows Passed for all rules -> click OK
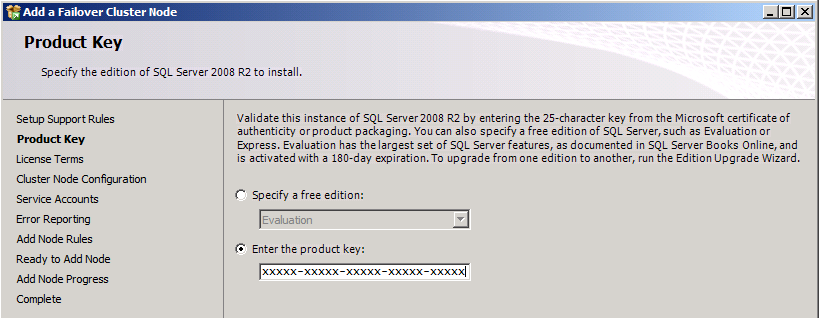
– On Product Key page -> Enter the product key or select Evaluation -> click Next
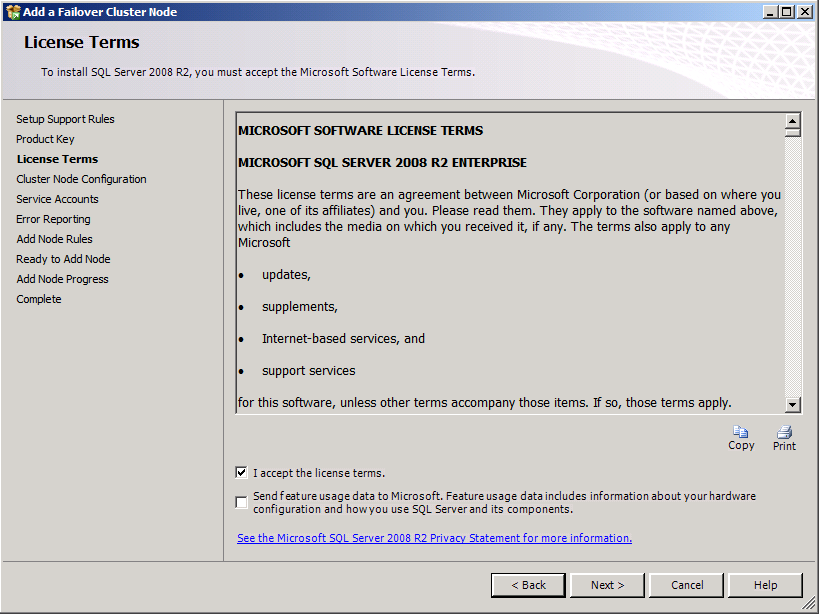
– Accept the license terms -> click Next
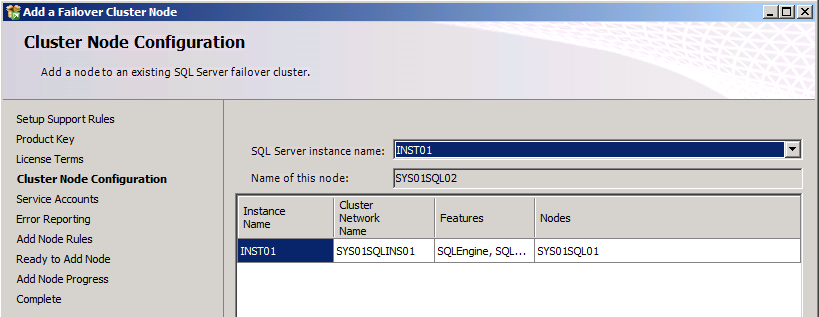
– On Cluster Node Configuration -> Select the SQL instance name to join -> click Next
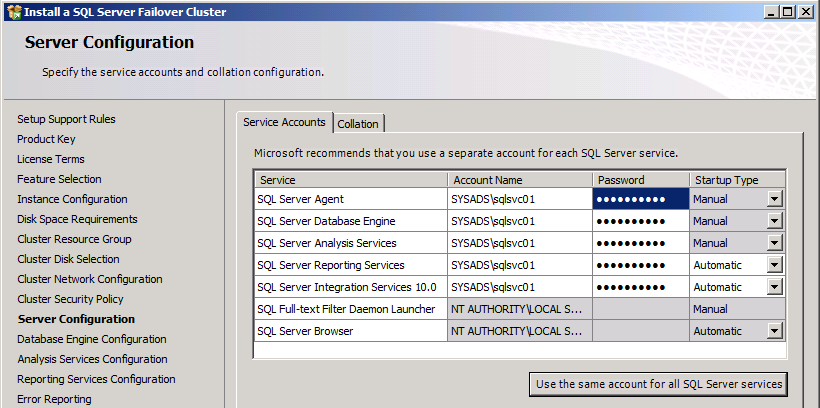
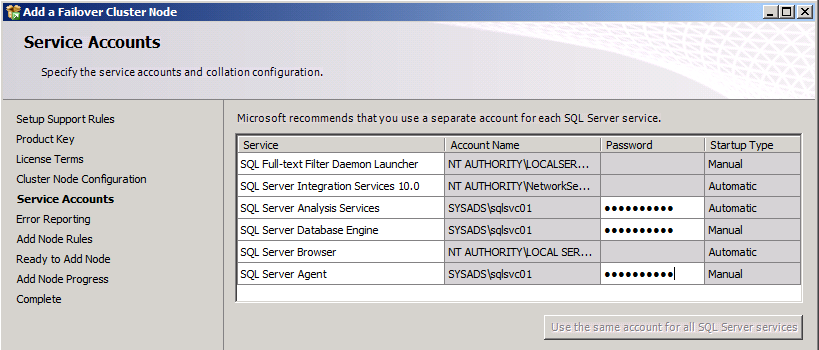
– On Service Accounts page -> Enter the SQL service password -> click Next
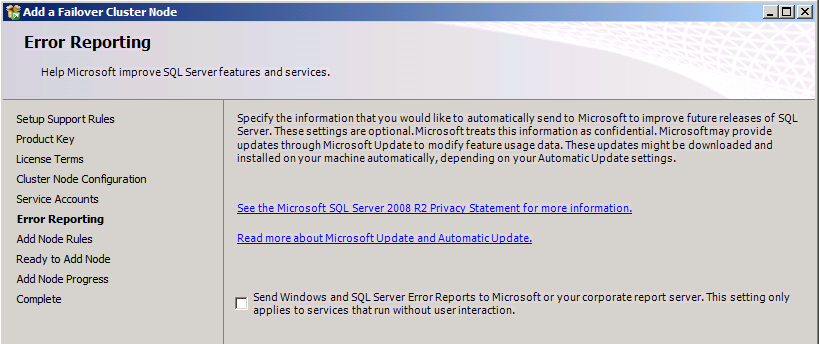
– On Error Reporting page -> Tick the box if you want to send error reports to Microsoft -> click Next
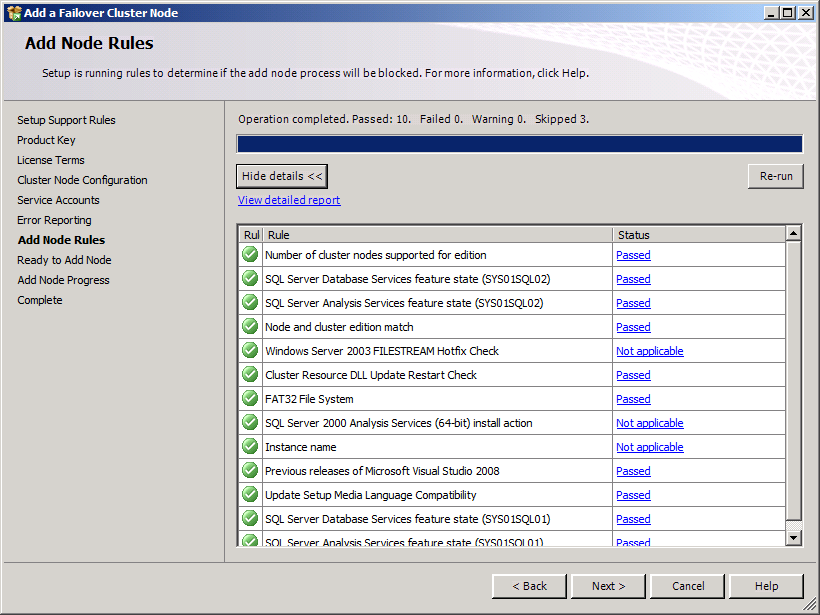
– On Add Node Rules page -> Ensure that there are no warning or failed rules -> click Next
– On Ready to Add Node page -> Review your settings -> click Install
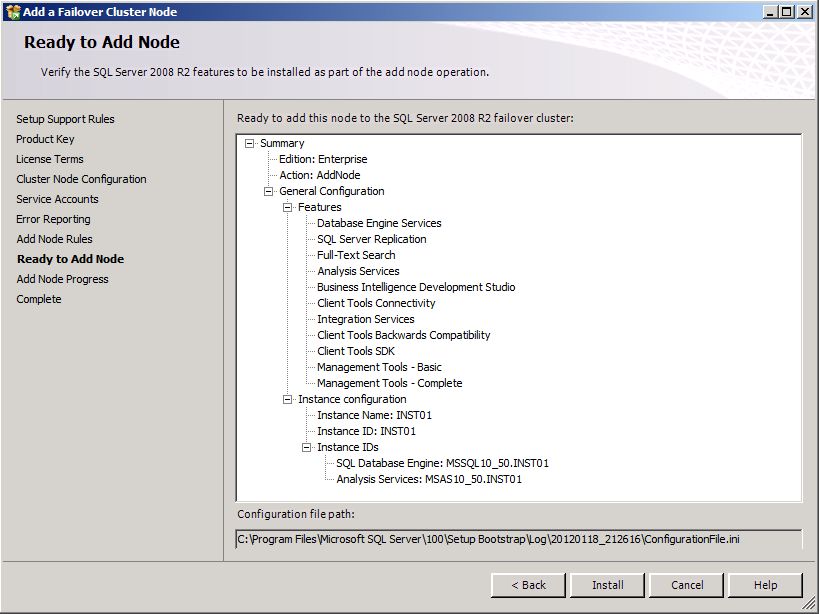
– Wait till the installation is completed
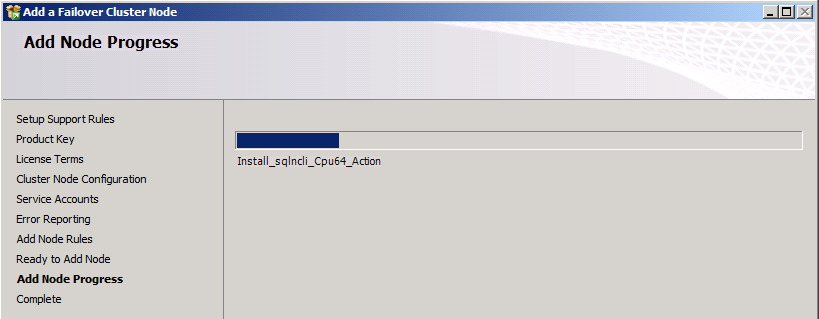
– Click Close after installation is completed