Active Directory DNS role by default was installed during the installation of Windows Server 2008 R2 Active Directory in my earlier post. DNS is comprised of two zones “Forward Lookup Zone – Resolves hostname to IP address” and “Reverse Lookup Zone – Resolves IP address to hostname”. In this post I will configure the Reverse Lookup Zone which isn’t configured by default.
Requirements:
-
Ensure Active Directory had been installed. Refer to this post
-
Ensure the server’s Preferred DNS Server IP is set to its self
Installation Guide:
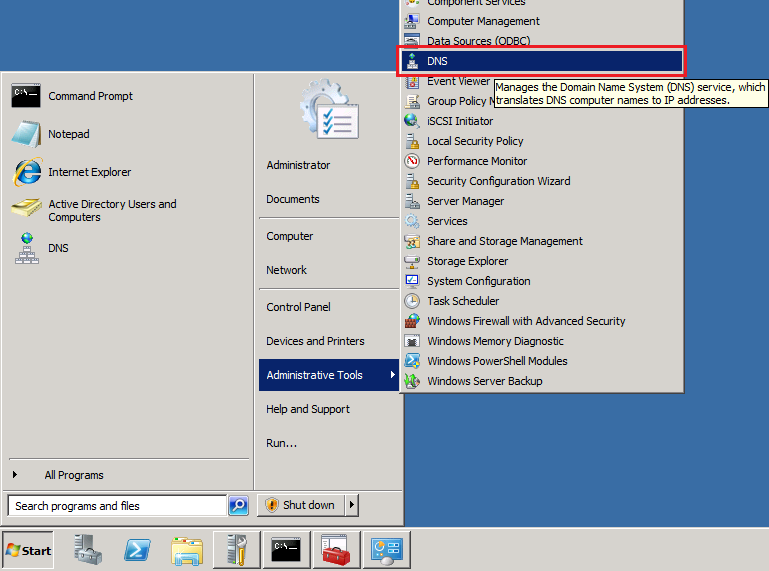
- Go to Start -> Administrative Tools -> DNS
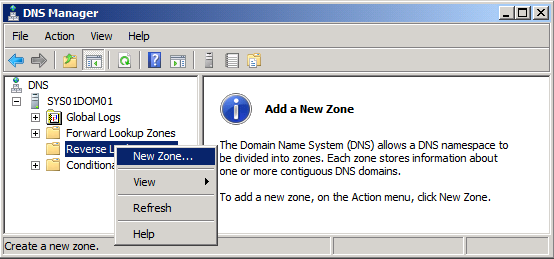
- Right-click on Reverse Lookup Zones and click on New Zone
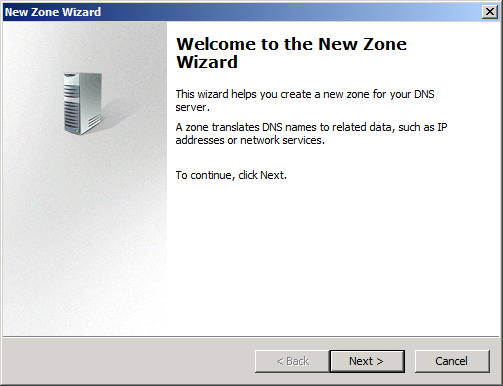
- Click Next
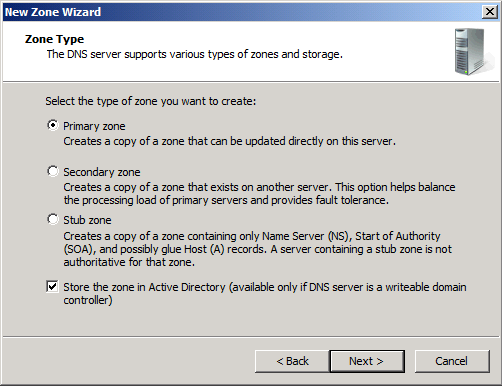
- Ensure Primary Zone is selected and the last tick box checked. Then click Next
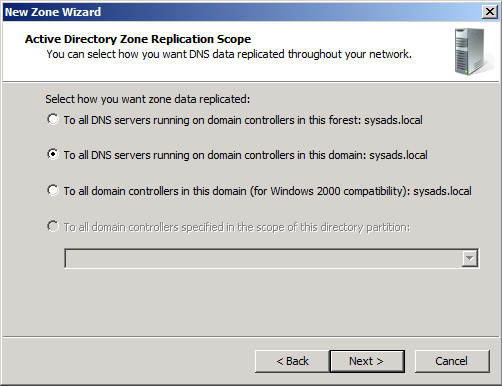
- Accept default “To all DNS servers running on domain controllers in this domain…”, click Next
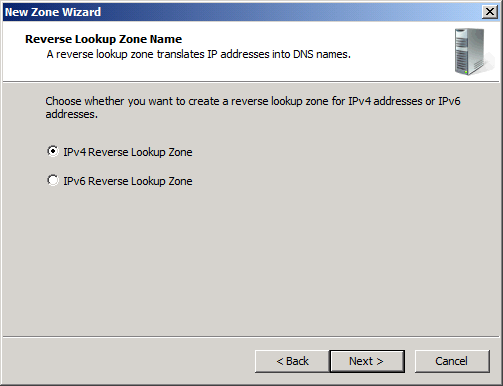
- Select “IPv4 Reverse Lookup Zone”, click Next
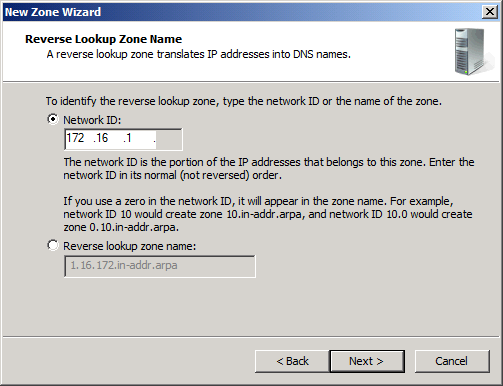
- Enter the first three portion of your DNS server IP “172.16.1”, click Next
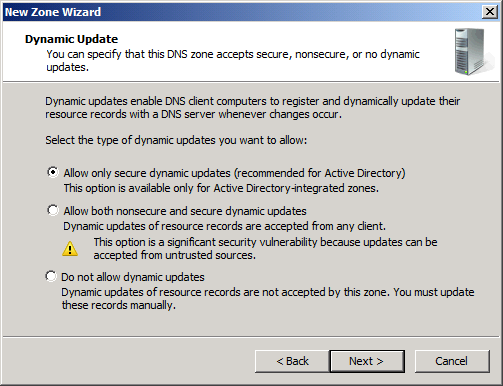
- Select “Allow only secure dynamic updates….”, click Next
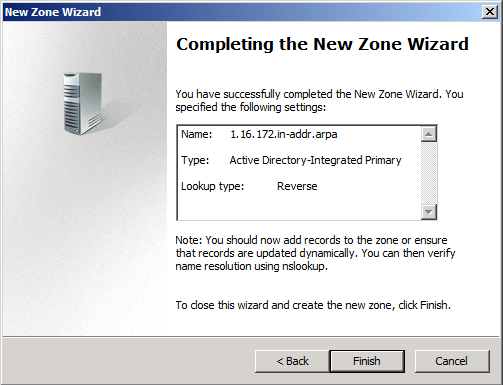
- Click Finish to complete the configuration
Post Configuration:
-
Verify that your Active Directory is healthy. See post for detailed tests you need to run.
-
Also run the Microsoft IT Environment Health Scanner. See post for more details. Stay turned….
-
Review the event Logs for errors and fix them.
-
Run the command in command prompt to verify DNS is resolving “nslookup“. Ensure that the Default Server points to the FQDN (Fully Qualified Domain Name) of the Primary DNS Server and the Address points to the IP Address of the DNS Server. If you don’t get the result below, then a good place to start is to check the Reverse Lookup Zone of your DNS and ensure that the IP is properly registered.